


The Seekers Notes Interface for Beginners: Explained from A to Z
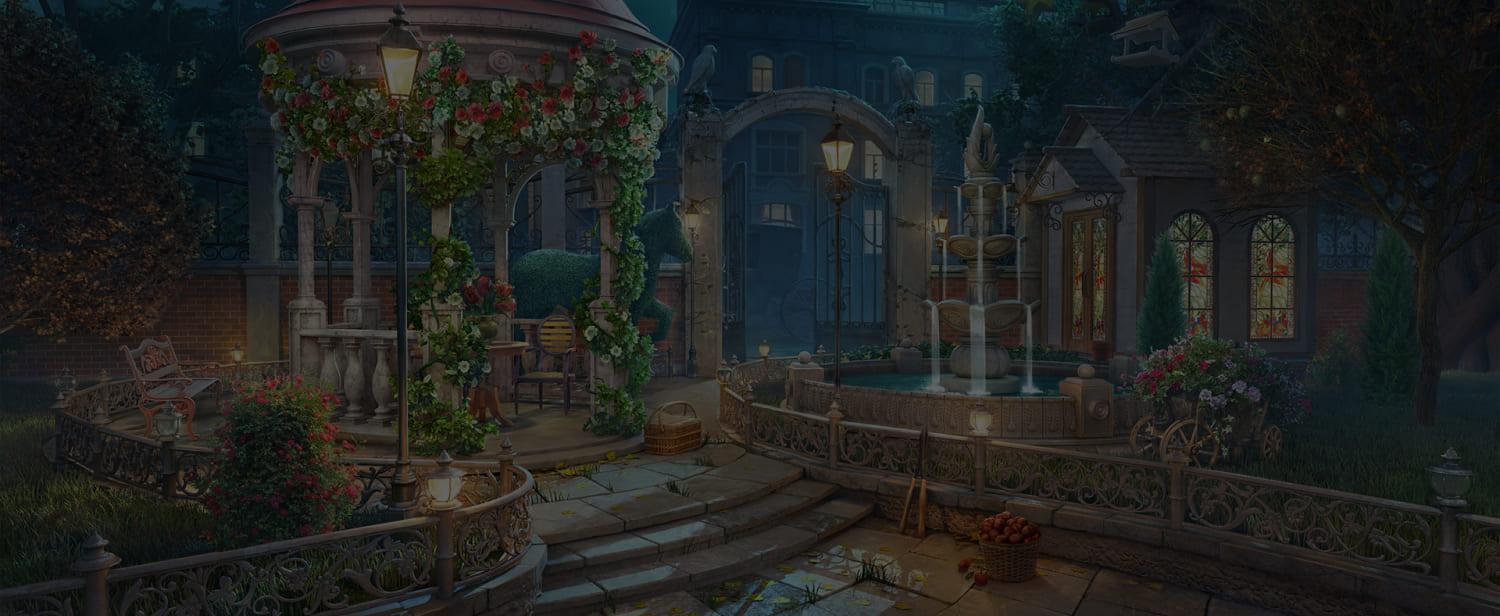
Here we are, looking at the map of Darkwood.
It can feel quite overwhelming, but with this guide, you'll float around the map with no problems at all.

1. Quests: Storyline (Left Side)
Here you can find all the quests and tasks you need to complete to continue the game's storyline. The icon shows which item you need to find. Quests can be divided into 2 groups based on how they look:
Without frames: regular quests that continue the storyline.
With frames: special or event quests that are available only for a limited time.
- All quest windows contain a Hint about where to find the given item. By pressing Accept, you will automatically be redirected to the location where the item is hidden.
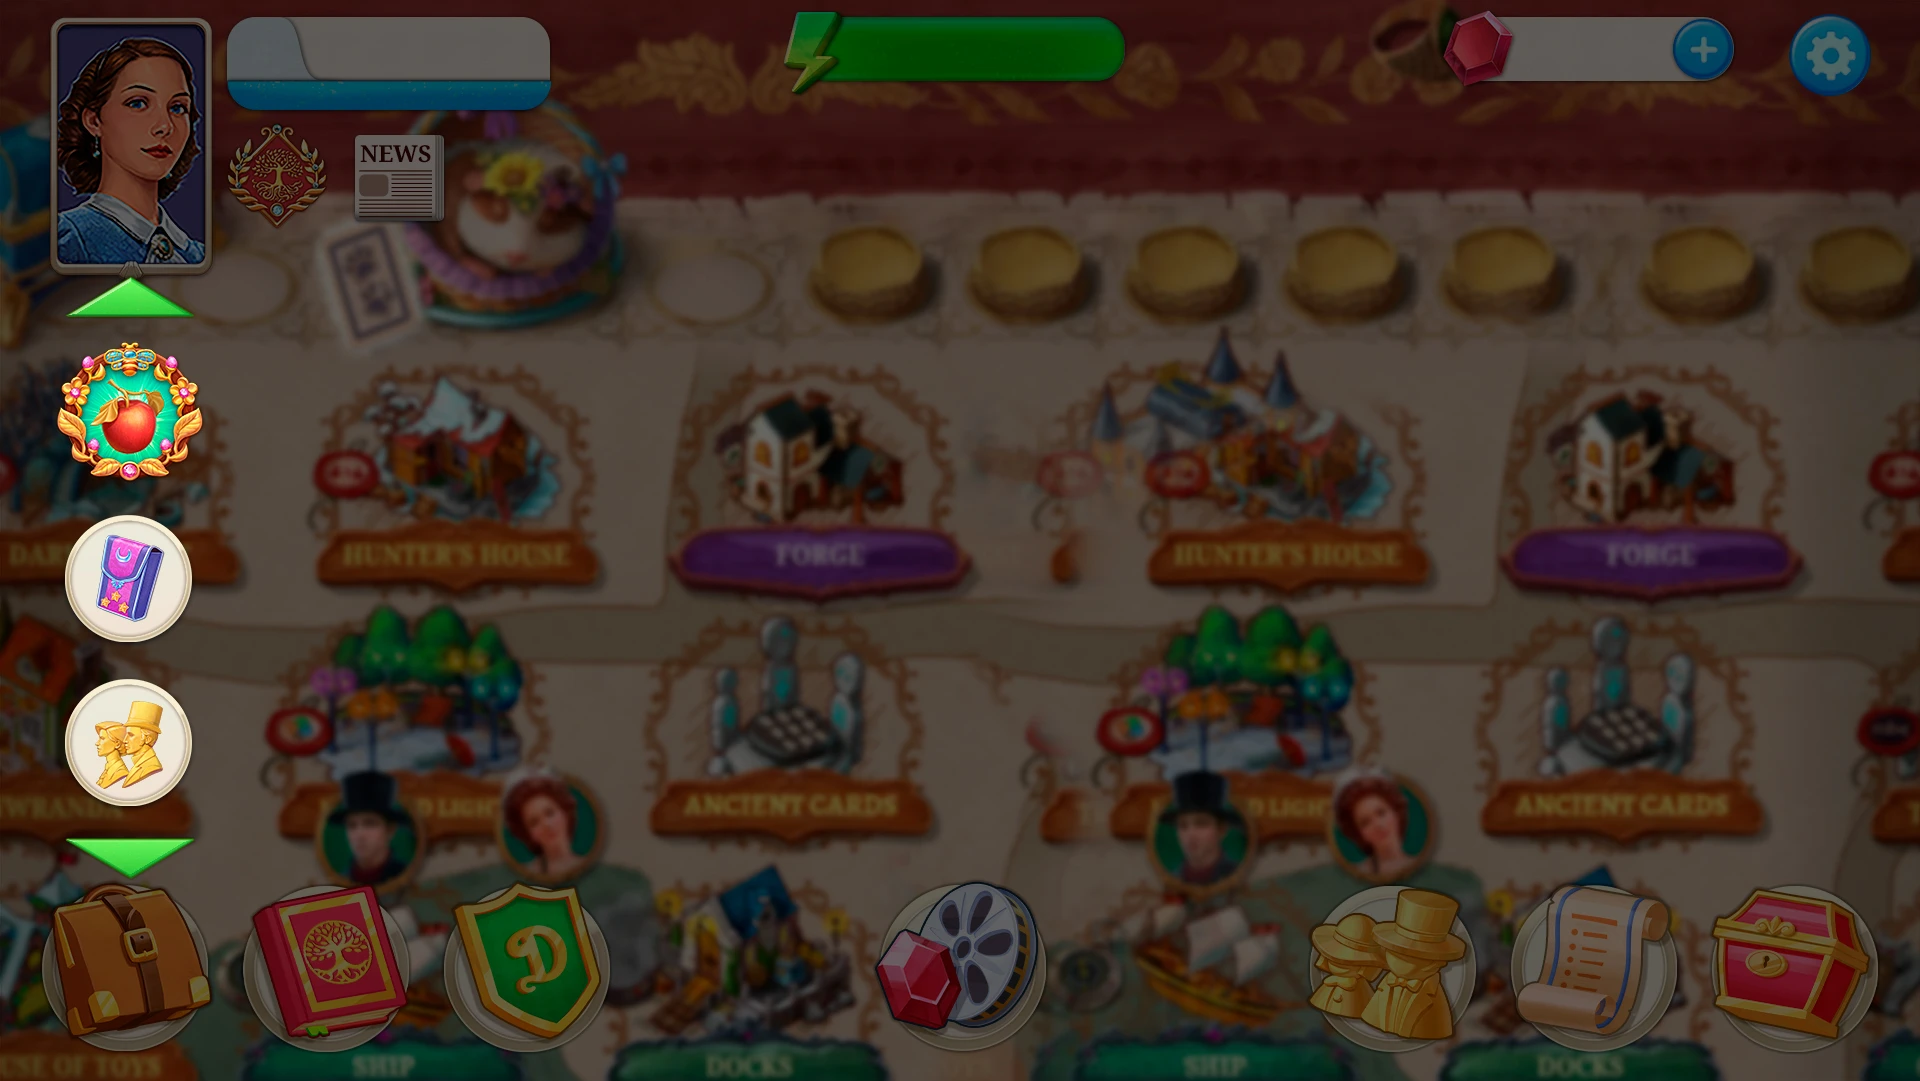
2. Upper Left Corner: Profile, Progress, and News
Here you can find your avatar, your name, your level, and how much progress you've made toward the next level.

Profile: press on your profile to see all the information about you. Here you can also view your list of Achievements.
Progress: press on the progress bar to see how much experience you need to reach next level.
News: press on the little newspaper to see all the Seekers Notes news. That's how you reached this guide! It's a very important icon—make sure you check it every time you open the game.
3. Energy
The green bar shows 2 numbers: how much energy you currently have / the maximum amount of energy you can have.
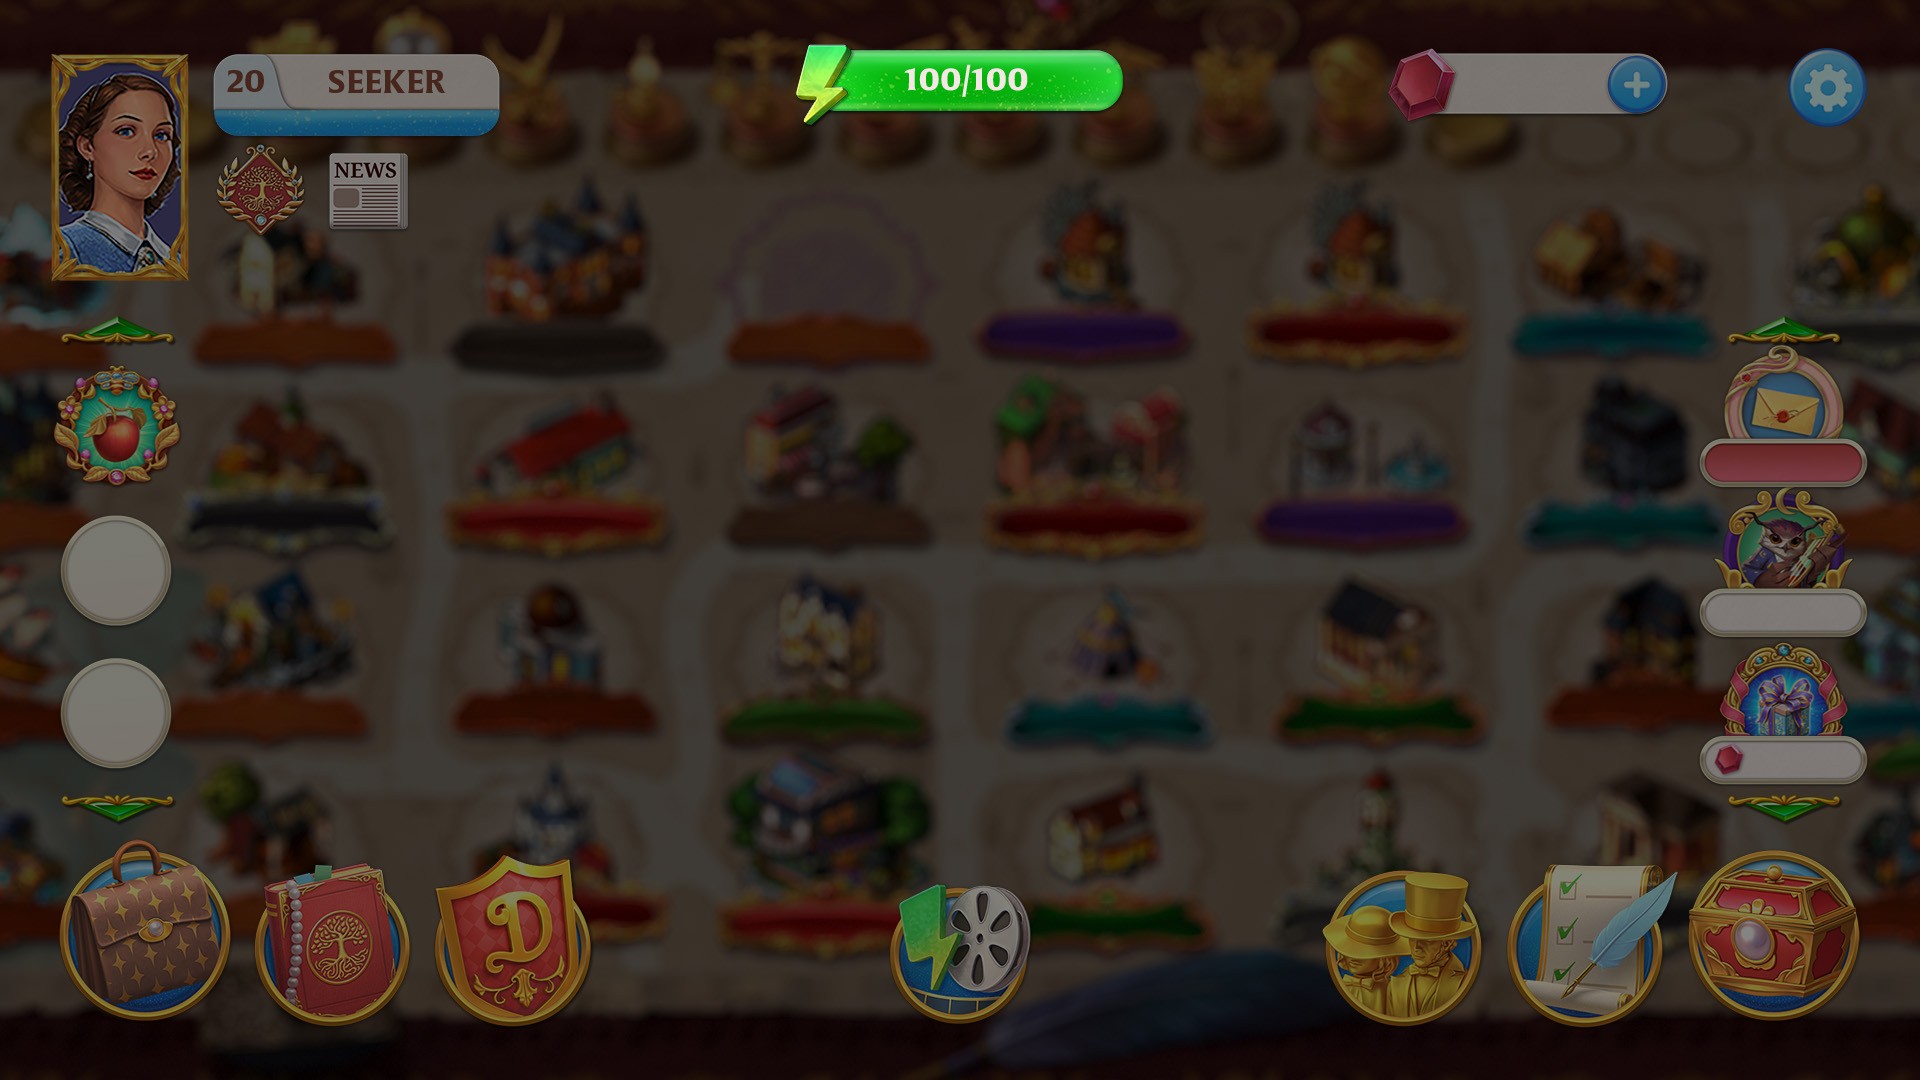
Your maximum energy depends on your game level. The higher your game level, the higher your energy level.
Each time you level up, your maximum energy increases by 5.
4. Upper Right Corner: Rubies, the Bank, and Settings

Rubies: all items in the Store (talismans, energy boosters, etc.) can be bought with rubies. Rubies can also help you craft special items at merchants' shops more quickly, unlock new locations, and unlock new gifts to send to your friends.
Bank: you can access the Bank by pressing the + icon right next to the number of rubies you have.
Settings: pressing the gear icon will open the game settings. Here you can control the sound, manage notifications, access Help & Support, and log in with Facebook to save your progress.
Most importantly, this is where you can find your Support ID.
What is a Support ID? Find out in this article.
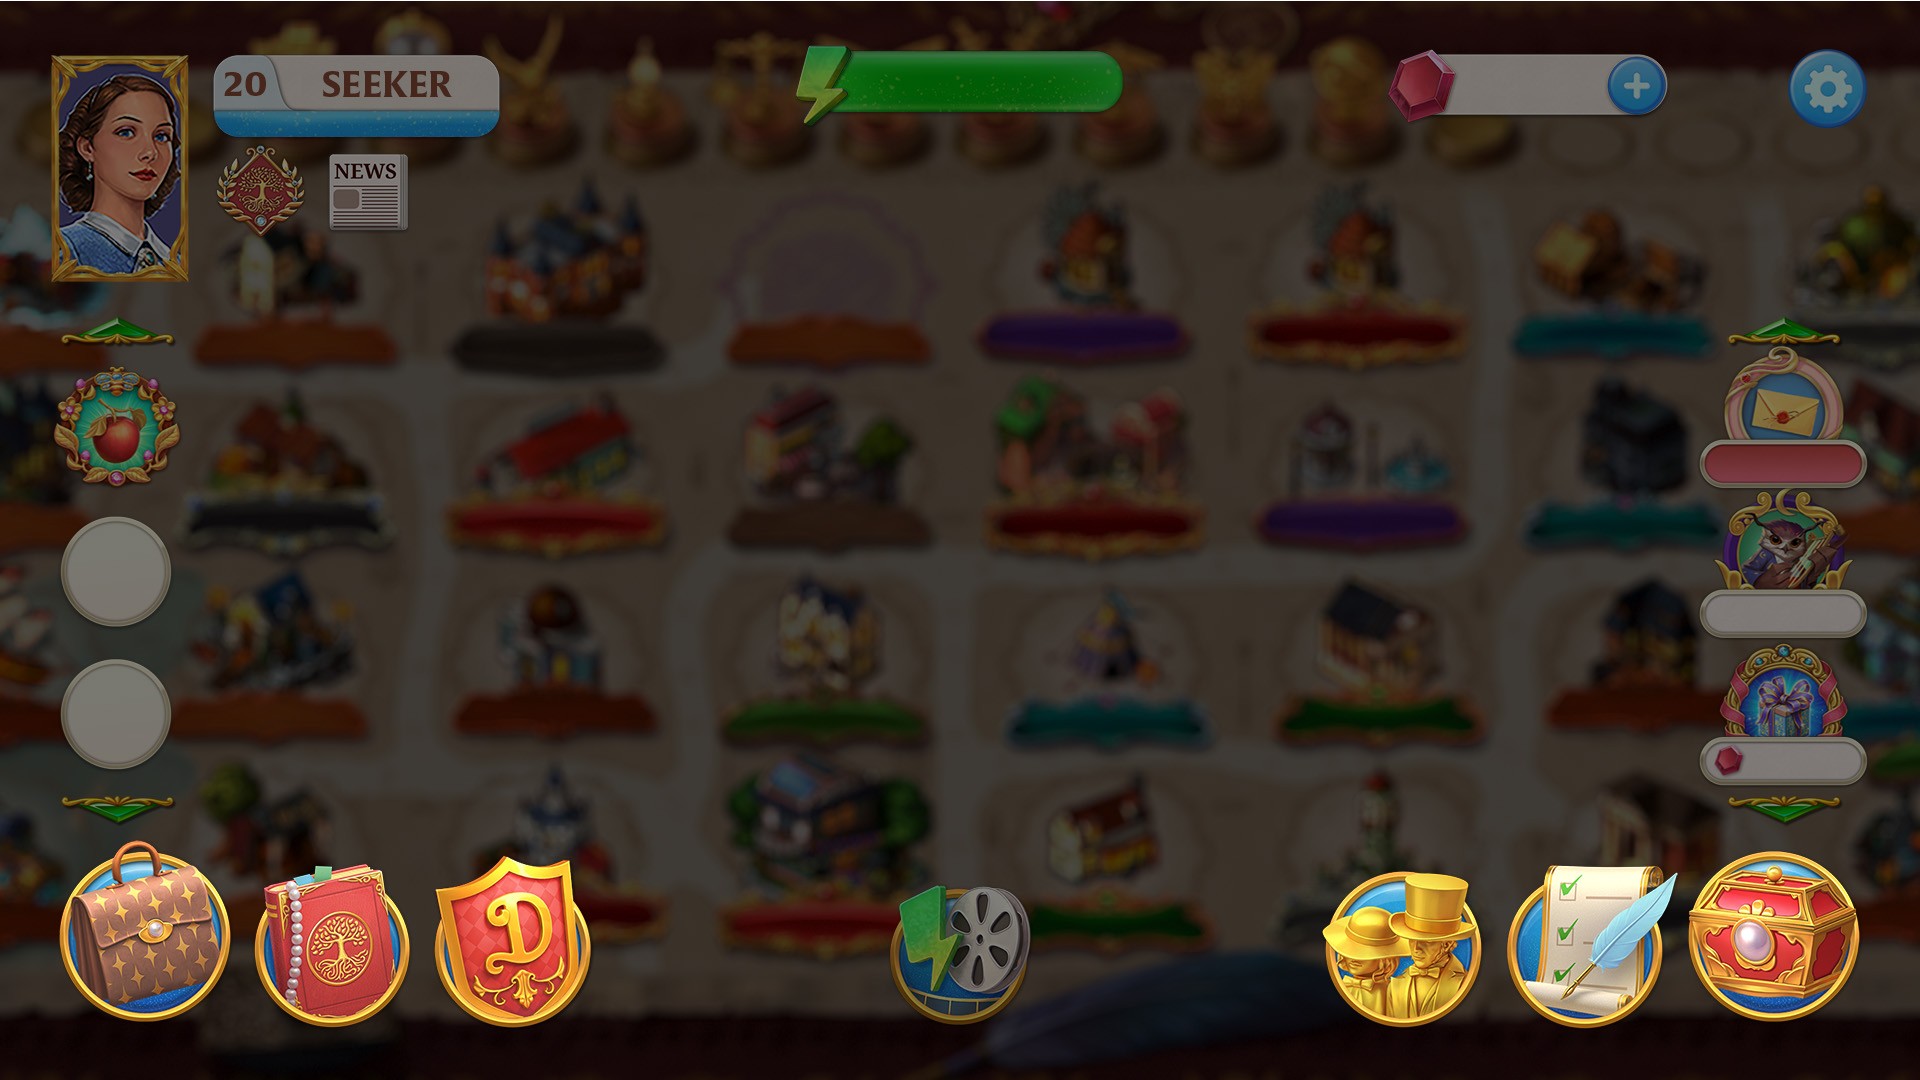
5. Quests: Mini-Events/Offers (Right Side)
On the right side of the interface, you can find all the mini-events and offers that are available at the moment. Remember: these are for a limited time only.

Learn more about mini-events here.
6. Bottom of the Screen (From Left to Right)
Inventory: you can find all the items you need to enjoy the game here. Learn more about your inventory here.
Diary: the Seeker's Diary helps you better understand the game's plot. Diary entries will be added as you progress through the storyline quests.
Guilds and Friends: the main buttons for socializing through Seekers Notes.
Guardian Quests: daily quests you can complete for a reward. Once you've completed all the quests, you can open a guardian chest containing lots of useful items.
Collections and Artifacts: on this tab, you'll be able to find all the collection items you have. Collections need to be combined to complete quests and follow the storyline. More information can be found here.
Return to the "Welcome, Newbies!" article
Every Seekers Notes tutorial in this article
