How We Draw Characters For Seekers Notes
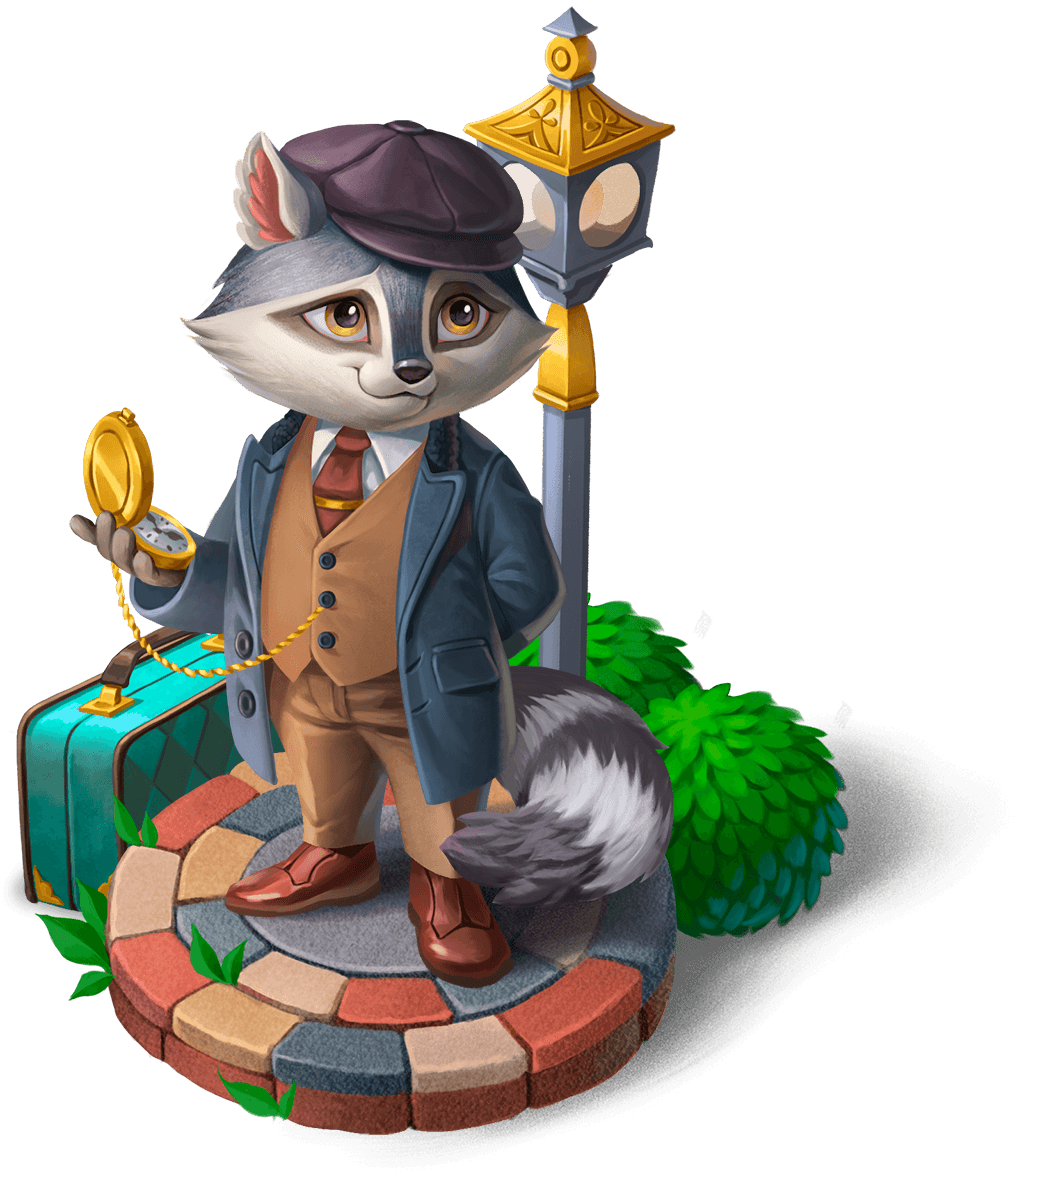
Hi! My name is Marianna, and I design characters for Seekers Notes, a hidden object game set in Victorian times.
There are three types of characters in Seekers Notes: non-playable characters (NPCs) who you can interact with, creatures, and avatars. But for the sake of this guide, we'll focus on designing a non-playable character.

An NPC is a "resident" of our game who is invented and scripted by the game's writers and designers. It's important to be especially careful when creating them because we have to show the character's personality in their design.
1. Description
You should start your work on a sketch by examining the character's description. For a better and more precise character design, you should know the character's story, their personality, and who they are. If it's not your character, start picturing them as soon as you read the very first words of their description. You can even imagine more interesting details for their biography or more specifics, if they align with the main description.
A little tip: always read the description completely. A lot of useful information could be hidden at the end of the text, and every detail matters.
You can also add more references of your own to the ones that were included in the description. It will save you a lot of time if you collect them all in one place.
2. Silhouette
I usually start drawing the sketch by finding the right silhouette. This will help you find the best pose and movement for your character's personality and mood.
NPCs have direct conversations with the player. That's why it's important that they look at the viewer. The tilt of their head can affect the nature of their look: a downward glance can express arrogance or confidence while an upward gaze can show mystery or indecision. Raising and turning the shoulders, the position of the arms and legs, and the posture can all be used to find the most expressive pose. To avoid stillness and lifelessness, we use various techniques, such as contrapposto or turning and tilting body parts in different directions relative to each other.
 3. Detailing
The next step is to flesh out the silhouette. At the development stage, you can determine the most beneficial lighting for each figure and, in general terms, decide on the character's design. To avoid over-detailing, work on a small canvas.
After you (or your team) choose one of the options, you can proceed to add more details to the sketch. I create a basis for the character's build, check their proportions, and fix their anatomy. At this stage, you also need to check your references for the fashion of your character's historical era. You can play with the style of their costume and choose different accessories and details.
Also, don't forget about who your character is. You need to know exactly what they are doing, where and when they will appear, and if you might also need to animate the art later on. This is necessary because you need to be aware of any limitations. For example, in Seekers Notes, the character art can clash with other windows, and so your character might appear without a part of their hat or limbs.
.jpg)

4. Tone, Volume, and Color
After deciding on a final sketch, you can start working on tone, volume, and color. This can go different ways: some artists start with tone while some start with color right away. I start by opening the canvas in a new window and changing the view to grayscale so I can monitor the tonal range in real time. This can be done through the proof setup view.
At this stage, we prepare several options for the character's color scheme. While deciding on colors, don't forget the type of setting your character is in and what kind of story it tells. For example, as I mentioned before, Seekers Notes is set in the Victorian era, and its stories are usually mysterious and can even be scary. Your character must blend in with the atmosphere around them.
We can see a wide variety of color combinations in the world. But when we need to create an image that is harmonious and, at the same time, intelligible and readable, we have to limit the palette.
I usually do a simple color fill to determine the most successful color solution. The character must remain readable and recognizable. To do this, I use complementary color combinations and adhere to a balance of warmth and coolness. By setting the colors to a certain temperature, you can achieve a more interesting palette. For example, we add cold shades to initially warm colors or, conversely, we take coolness away from warm colors. This technique will make the colors pop and prevent them from merging into one.


5. Light and Shadow
For NPCs, we use an overhead, moderately warm light at a slight angle. I also add a little sidelight to further bring out the shape.

6. Render
When you're finished with color and lighting, it's time to render. Some find it the best part of the process while others might think it's too routine. Here I stick to a simple but very effective rule: work from general to specific. To make sure I don't spend way too much time on one detail, I draw a grid on the canvas and try not to linger on one segment for more than five minutes.
References will help you render. You can even use your own personal collection or pictures you've taken. To draw a particularly complex gesture, you can ask a colleague to pose for you or pose yourself and take a picture. This is more effective than wasting time searching for a suitable reference on the web.
You can get inspiration from great artists or use screenshots from movies. Those are actually a great reference. Next time you watch something, take a screenshot of a scene you find particularly interesting. And another tip: don't use heavily edited photos as references.
Mirroring the canvas also helps you spot errors.


7. Finish
At last, we're done with the piece of art and waiting for final approval. If your art is going somewhere else, you'll want to prepare it. For example, before we implement the character into the game, we have to check if the artwork meets all the requirements and parse it.
For a big project, creating a character takes more than one specialist. We work together as a close-knit team to make the character truly shine. Writers, game designers, producers, artists, and many other specialists leave their mark on the character. The key to such successful teamwork is to try to compromise and find the best solutions throughout the character development process.
I hope you found this article interesting and learned something useful!

Recent articles


